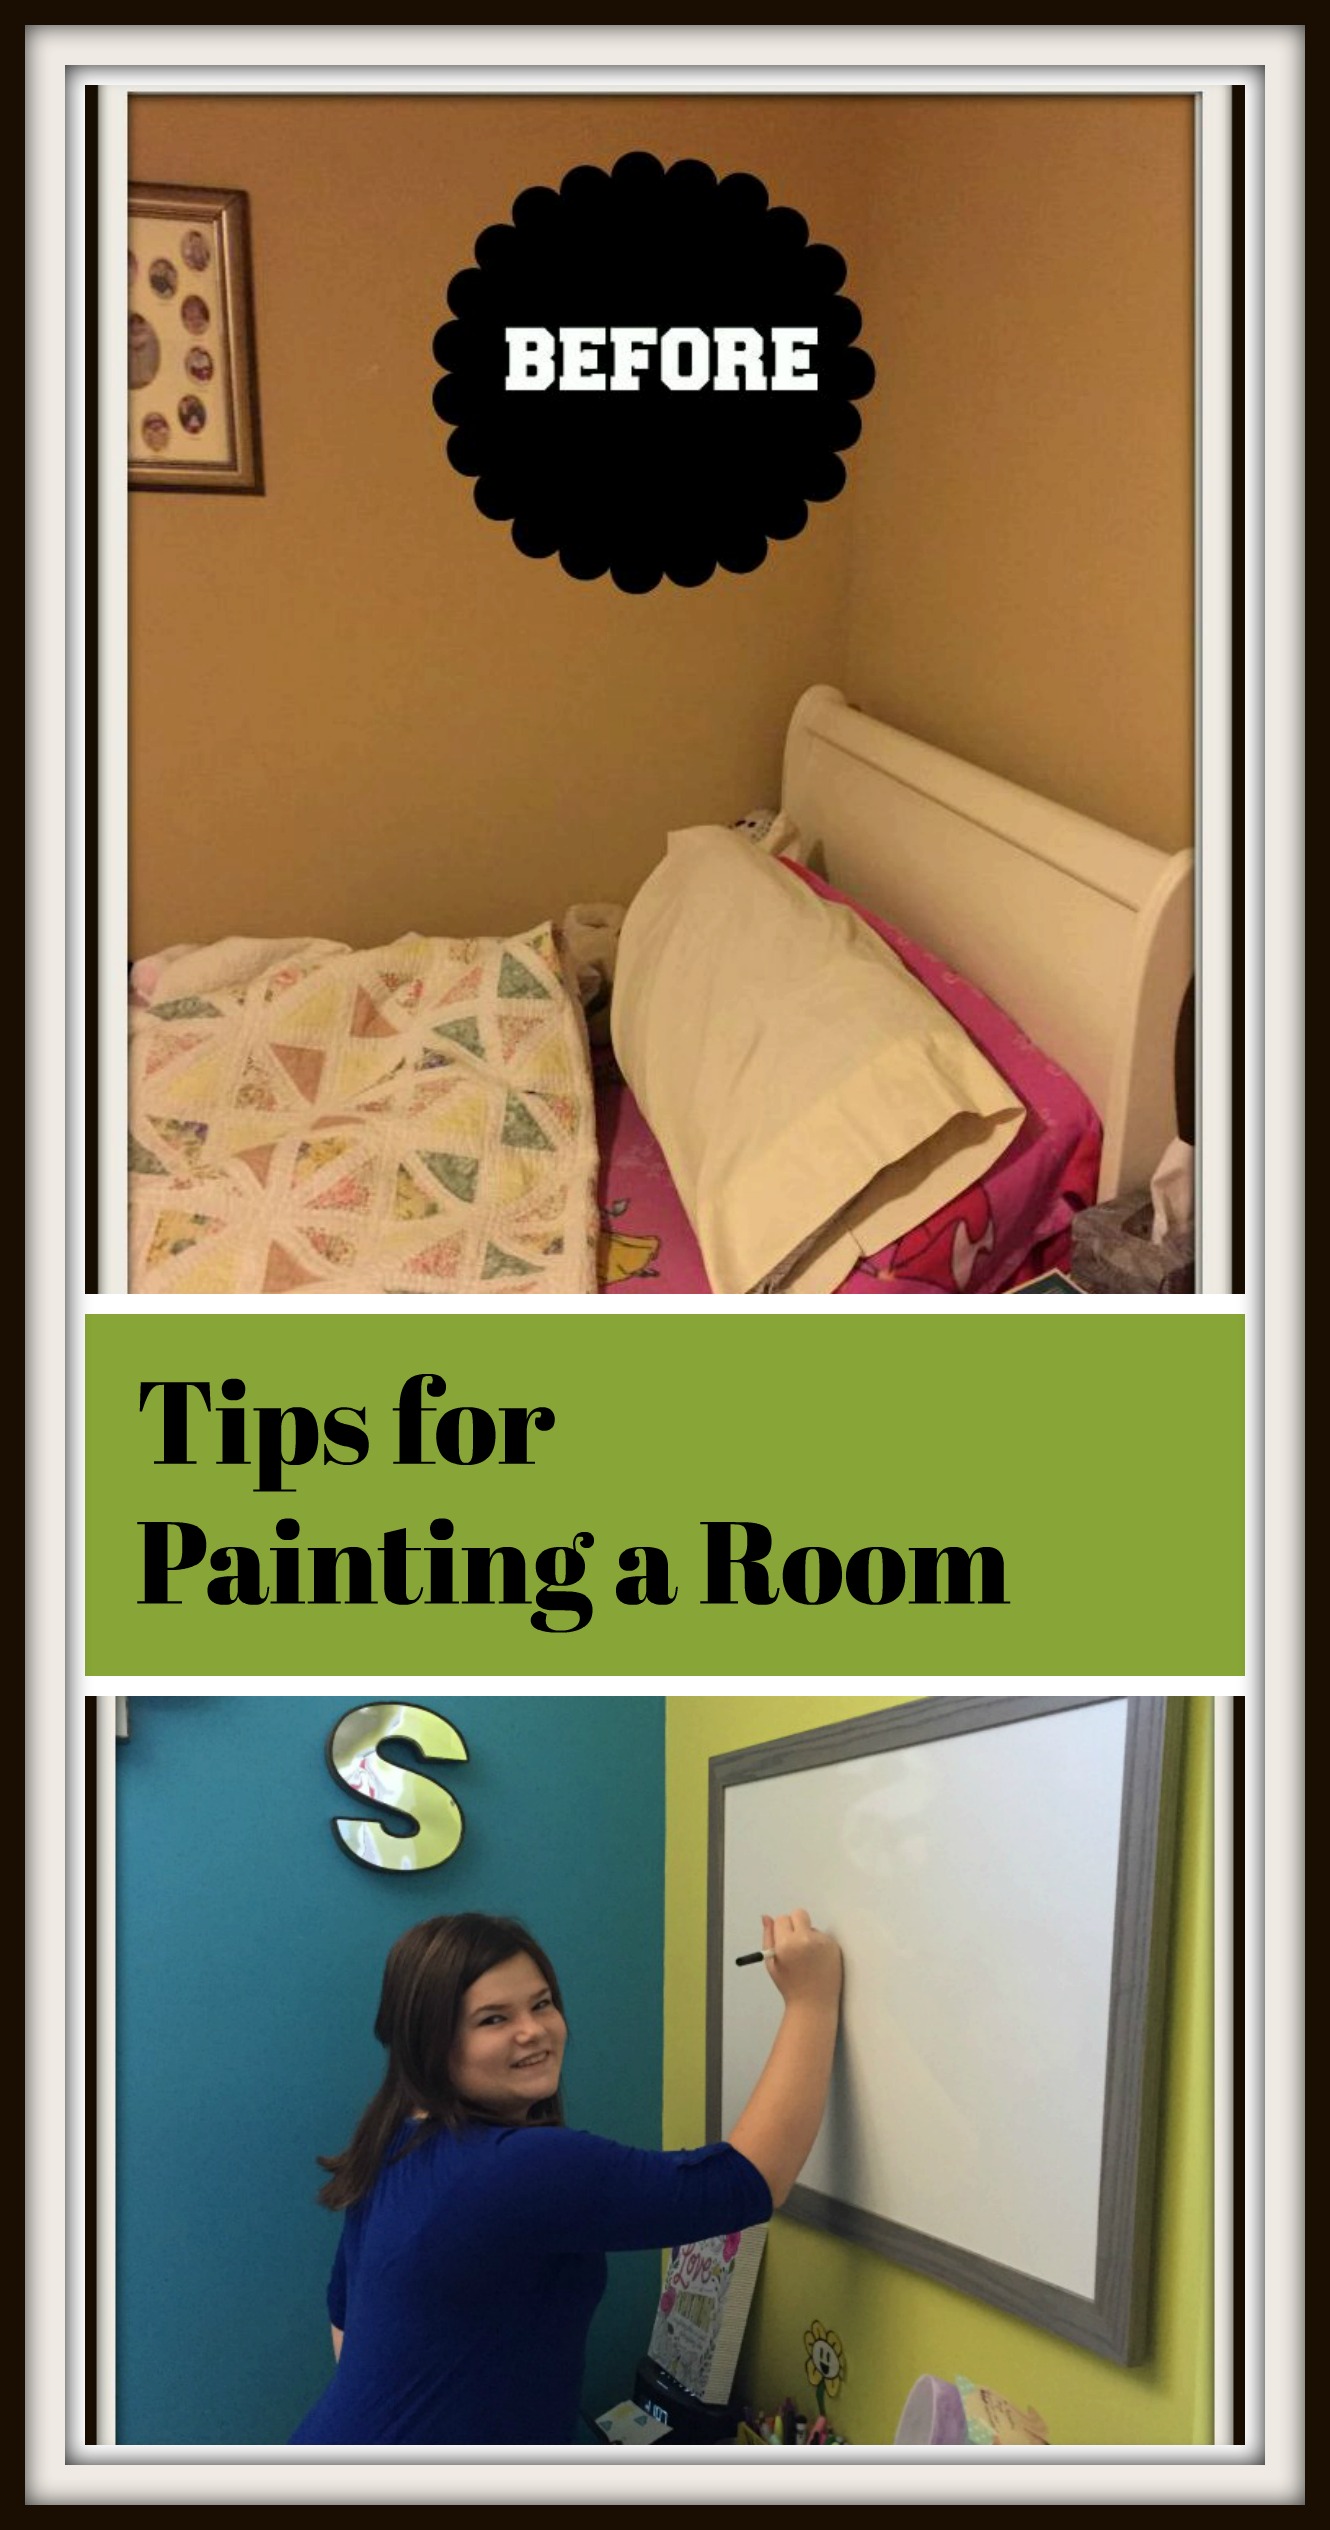
I have partnered with Sherwin Williams to colour our space beautiful and make it ours. We have been here 1 1/2 years in our new house and we love it. We redid two closets and completely outfitted my home office. But now it’s time to make our house a home. We are tackling cosmetic home renovations here at my house. This week while the kids are at camp we are going to start painting a room. First up is my daughter Payton’s room.
Painting a room is one of the easiest ways to completely change the feel of the space. And while it’s the cheapest and easiest, it requires a little prep to make it happen. I’ve laid out 5 tips on preparing to paint a room that can make the process easier and much more effective.

5 Steps to Painting a Room Like a Boss
The Drop Cloth
Fist things, first. Unless you have no desire to keep any of your furniture or your flooring, you need a drop cloth. I know it seems like this shouldn’t be included, but I’ve seen several people paint without one, thinking that all they had to do was be careful. This is a bad idea for a couple of reasons. First, you can never be careful enough. Secondly, the amount of time you waste trying to be careful is absolutely insane.
Spackle
This is another one that seems like a no-brainer. Again, I’ve seen lots of people get down to painting a room with little holes all over the place. The most common thing I’ve heard is, “that paint will just fill it in.” That never works. You’ll have little holes again in no time, so spackle up those little holes and sand them smooth. Truthfully this is my favourite part. Tedious, sure? But I like doing this. It’s my thing.

Wash the Walls
You’re about to spend some time painting a room, so you’ll want to begin with the best canvas possible. Washing the walls is so important. Take a damp cloth, and starting from the top down, wash the walls. This gets off any dust, fibers, or hairs that will gum up your paint down the line. If you skip this step, you’re going to end up with fuzzies, and other undesirable junk stuck to your walls.
Painter’s Tape
Painter’s tape is your best friend. Whether you’re painting stripes, color blocking, or just doing trip, you need to use painter’s tape. Painter’s tape is designed to form a barrier between one paint and another to give you crisp lines or to protect your walls when you’re panting trim. Just remember that although painter’s tape is designed to pull away from paint easily, you want your base paint to be totally dry to avoid any paint pulling up with the tape.
Ventilation
This is one of the most important preparation tips for painting a room. You need proper ventilation. Even if you use water-based paint, it sill has an odor, so always ventilate well. Crack your windows for air flow. Even on a hot day, you need some form of ventilation. For water based paint, a box fan in a window might cut it, but for things like enamel, you’ve got to have those windows open.
Painting a Room – Prep is Key
If you approach painting a room with the proper prep, you’ll have no problem making walls you can be proud of. Just remember to prep your surfaces, protect your surfaces, and tape your surfaces, and you’ll be painting a room like a boss in no time.
Want to see how it turned out?
Here are the before and after photos of the teenage girl’s room makeover.
Thanks to Sherwin Williams for supplying all of our paint for this project. Sherwin Williams newest fun colours are available at Lowes in Canada. My opinion is all my own and it is also truthful.


I’ve only painted a room in our home once. Needless to say, I will never be doing that again. 😉
I don’t mind painting. My husband HATES it, so we usually end up paying people to do it when we need rooms painted.
Nice tips. I love repainting rooms. It can give the same space a whole new look and feel.
I can’t imagine ever painting a room ourselves! We always hire professionals!
These are great tips. We have been talking about paining our sons room now that he is older. I wouldn’t have thought to wash the walls.
These are great tips you’ve shared. I am thinking of repainting our room. This will be very helpful.
This is a nice common-sense article. I like the way you enumerate the steps in an easy-to-follow manner!
Thank you.
I want to try and re-paint some of the flat so I will have to try and follow these tips thank you 🙂 x
We never wash the walls and now that you say that.. why don’t we? There is so much unseen dirt on our walls it only makes sense.
This is a very helpful post. I am thinking of painting here in our home. Now I will have this to refer back to to find out what I need.
These are some really good ideas. I would want to make sure it’s done right the first time so I don’t have to redo it!
I always wanted to repaint a room, however, the only thing that holds me back is I might not do a very good job and then end up paying professionals to do the job. That would be double to expense. This post would give a lot of credible advice to those folks who are handy and can really do the job well by themselves.
Great tips! Back home in Kingston we painted tons of places, but I havent touched any here. We are moving Monday and I plan to paint the kiddos rooms in the next few weeks!
I love adding new color to a room. I find painting to be thereputic!
These are great tips for painting a room. I am a messy painter so a drop cloth is very important.
I always think it’s going to be a breeze to paint a room, then the issues begin! lol I think the biggest thing to mess with is choosing the color to match stuff.
We are building a house so everythign is the same color. I know my kids are going to want to paint their rooms.
I could use those tips when we were just painting. I did not do all that lol.
Painter’s tape is so awesome! Gets all the straight edges perfectly 🙂