Reusable beeswax wraps are insanely easy to make and so popular too. Recently, we had a Friday night where one of the kids was grounded. Hashtag TEENs. Need I say more? And we were all looking for something to do. So, we made a plan to make Reusable Beeswax Wraps for food.

This is a craft that my oldest daughter, 18, and I both have been wanting to do this year. She’s very into recycling and reusing and striving to be environmentally friendly. I love that about her. It inspires me to be better.
So, I hunted down beeswax pearls or beeswax pellets at Michael’s – also available on Amazon – and searched out several materials we had here to figure out what worked best and how we could make these. I highly recommend the Beeswax pearls over the solid beeswax chunks. Shredding the solid beeswax can be messy and time-consuming.
This post contains affiliate links as a service to readers.

Here’s what we learned. These reusable beeswax wraps are super easy to make. Do not be stingy with the beeswax pearls. Also, make several different sizes, for all the containers. These are easy to clean actually. Just rinse with water and a bit of soap, then let them dry in the dish rack. This is key, don’t soak them: that’s not necessary and it can also make the wax break down.

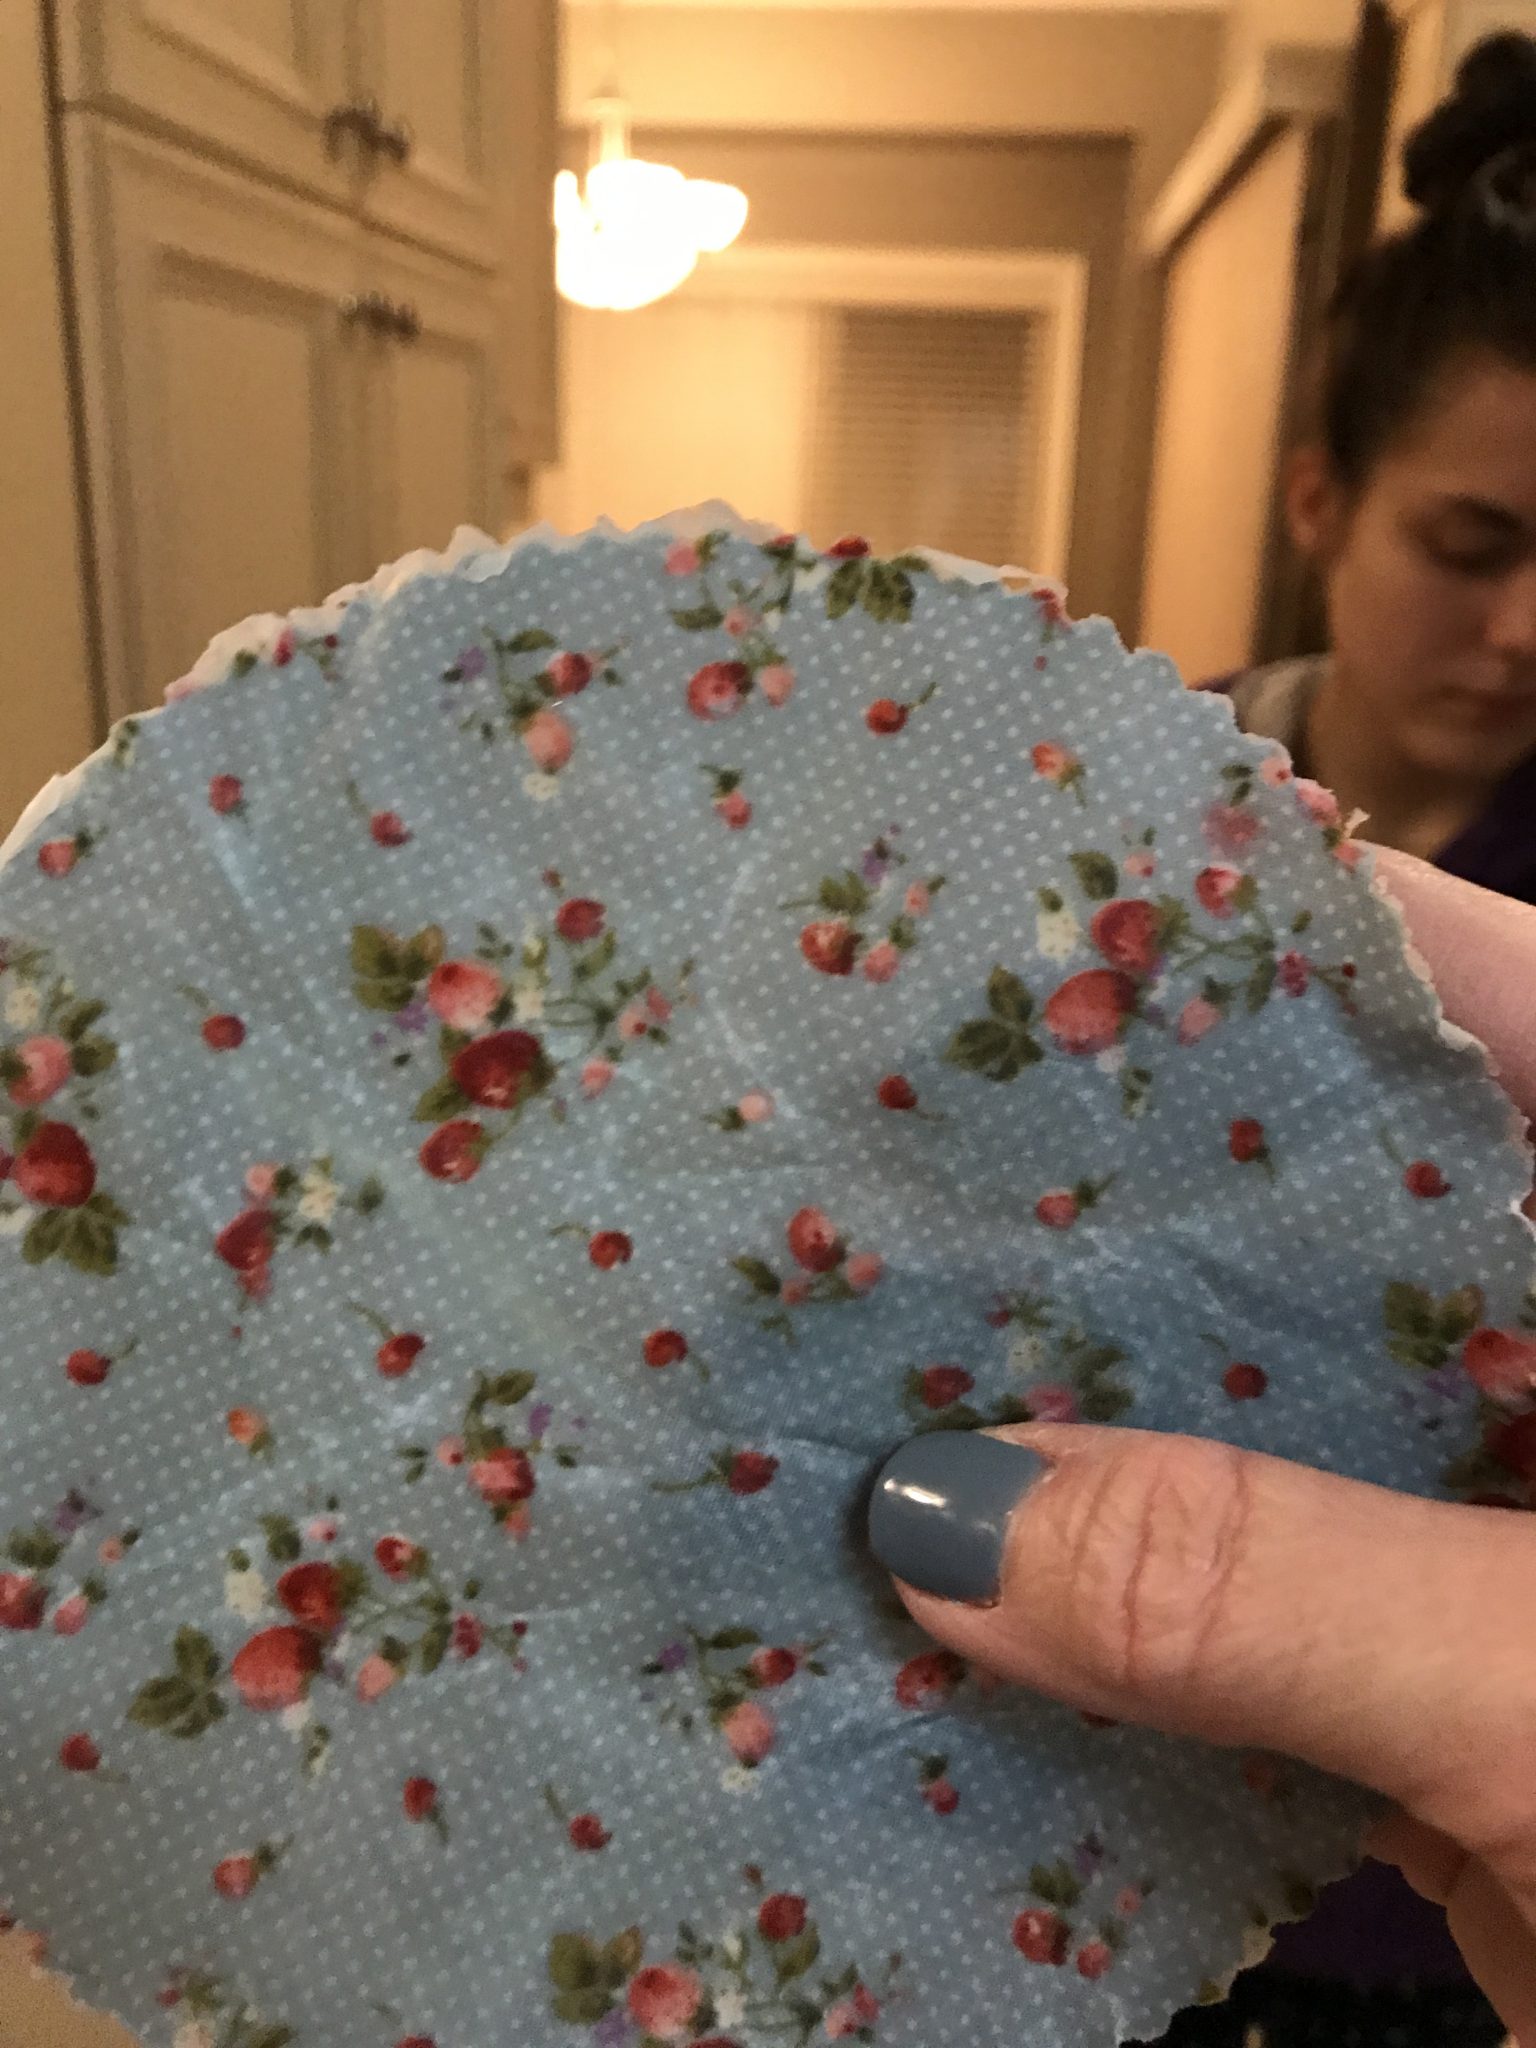
Also, we used numerous fabrics, because we thought that would be fun, but the synthetic ones did not work well at all. So, cotton only for reusable beeswax wraps for your home. Finally, be warned that some dyed fabrics like reds will run when heated with the iron. Do not use fabrics that have been dyed with red colouring. That will also ruin the other fabrics if you aren’t careful, because it runs so easily and the iron will transfer the colour. We learned that with the red fabric we had, because we tried to do while polka dot wraps right after. Basically, the simple colours and patterns are best.

Basically, there are only four simple steps to these beeswax wraps.
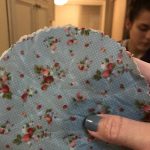
Table of Contents
How to Make Reusable Beeswax Wraps
Equipment
- Iron
- Scissors
Ingredients
- 8 – 10 pieces Random Cotton Fabrics
- 1 package Beeswax food grade
- wax paper
Instructions
- Turn the iron on to cotton setting and let it heat up
- Pour the package of beeswax pearls into a tupperware container or dish
- Cut Cotton into circular shapes of various sizes. You might consider wrapping it over the containers you envision using so that they fit.
- Place wax paper on an old cookie sheet (one that you use for crafting).
- Pour the wax pearls on top of the material evenly.
- Add wax paper on top of the material covered in wax pearls.
- Use the iron to heat the wax, spreading the pearls and melting them to the fabrics.
- When done each one individually, set them aside and let them cool for about five minutes.
- Remove the wraps from the wax paper. Store to use repeatedly.
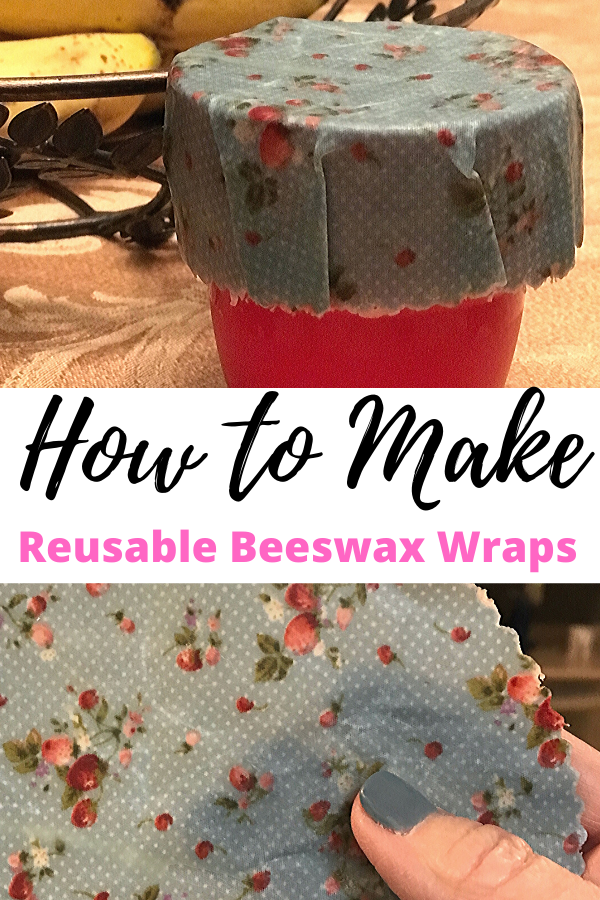
Easy to Make Reusable Wraps
Beeswax, cotton material circles and heat. That’s basically it. Maybe a little bit of human power and you’ve got what you need to cover your food and containers without wasting single use plastics.